Simple No-Yeast Homemade Sandwich Bread Any Busy Mom Can Bake for School Lunches

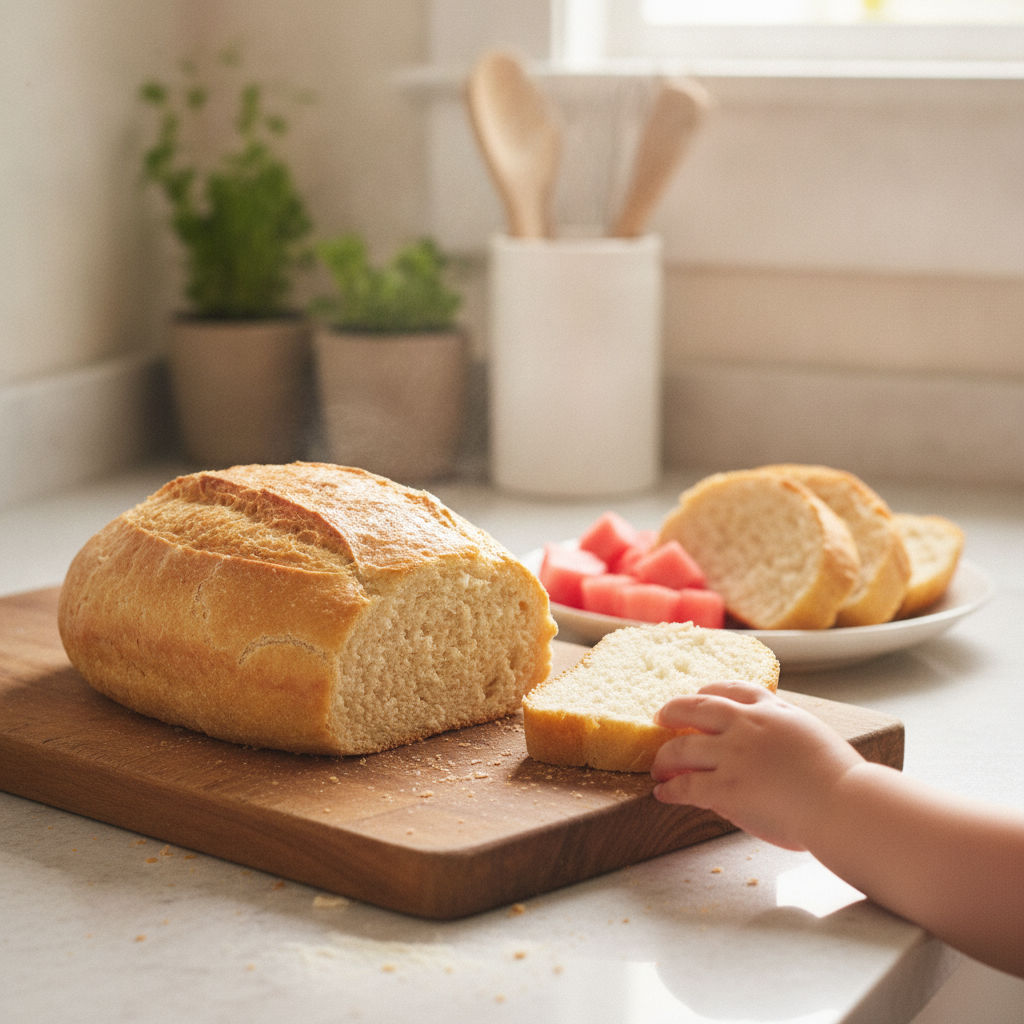
This scratch-made no-yeast sandwich bread comes together in 10 minutes of prep and bakes in under 45 minutes without any rising time. Sturdy, soft, and completely processed-free, it is the ultimate game-changer for packing kindergarten lunches on busy mornings.
On this page
Listen… if there is one thing that will throw a complete wrench into my morning groove, it is standing in front of the pantry at 6:50 AM, looking at an empty bread box, and realizing I forgot to bake bread for Luke’s kindergarten lunch.
I wake Luke at 6:30 AM on school days like clockwork, already fully dressed in head-to-toe camo gear before he even rubs the sleep out of his eyes. Hubs is upstairs in his home office starting his first batch of coffee, and I am downstairs trying to orchestrate school drop-off while keeping our entire house from descending into chaos. Because I make every single piece of food in this house from scratch—no store-bought frozen nuggets, no boxed snacks, no factory-made loaves packed with preservatives—running out of bread used to mean absolute panic.
Traditional yeast bread is wonderful when I have three hours on a quiet Sunday afternoon to watch dough double in size while listening to mountain breeze outside our window here in Colorado Springs. But on a busy weekday morning? Spending hours kneading, proofing, and waiting for yeast to decide if it feels like rising in our dry high-altitude air is just NOT happening.
That is exactly why this quick, no-yeast homemade sandwich bread became my absolute holy grail. It takes ten minutes of hands-on work, zero yeast, zero rising time, and bakes into a gorgeous, sturdy, sliceable loaf in under 45 minutes. It holds up to meat, scratch spreads, and Luke’s favorite trip egg sandwich without crumbling into a pile of sad dust in his lunch box.
If you are a mama trying to feed your family real, honest scratch-made food without spending your entire life waiting on yeast, grab your mixing bowl, friend. Let’s make a loaf.
Why Yeast Bread and school mornings Don’t Mix
When Luke was smaller, I used to think scratch-baking meant I had to be a master artisan baker setting alarms for 4:00 AM to punch down dough. Reality check: I am a full-time stay-at-home mom. My days are packed with laundry, house management, recipe testing, running errands in our truck, and keeping up with a wild, sweet 5-year-old who wants to spend every waking second outdoors or watching Outdoor Boys on YouTube.
Our morning window between waking Luke at 6:30 AM and walking out the door for school is tight. He needs to eat a solid breakfast (usually French toast made from leftover scratch bread or a quick skillet meal), get his merino wool layers on for the chilly Colorado morning air, and grab his camo lunchbox. If I realize we have zero bread for lunch at 7:00 AM, traditional yeast bread is useless to me. Yeast requires patience, warmth, double-proofing, and gentle handling.
No-yeast quick sandwich bread operates on chemical leavening—specifically, high-quality baking powder and a touch of baking soda reacting with buttermilk. You mix the wet, toss in the dry, pop it into a greased loaf pan, and put it straight into a hot oven. By the time Luke is finished packing up his rod for after-school practice at the park, the kitchen smells like a bakery and a fresh warm loaf is resting on the cooling rack.
The Scratch Ingredients Lineup (No Processed Junk Allowed)
Because we do not do processed food in this house, every ingredient in this bread is a simple pantry staple you can actually pronounce. There are no dough conditioners, no weird oils, and no high-fructose corn syrup sitting in this recipe.
Here is what you need to gather on your counter:
- All-Purpose Unbleached Flour: 3 cups of good quality unbleached flour. I prefer organic whole wheat or a high-protein unbleached white flour for optimal structure.
- Baking Powder: 1 tablespoon. Make sure your baking powder is fresh, mama! This is doing all the heavy lifting for your rise since we aren’t using yeast.
- Baking Soda: 1/2 teaspoon to react with the acidity in the buttermilk and give the crumb extra lightness.
- Fine Sea Salt: 1 teaspoon. Never skip salt in bread, or it will taste flat and boring.
- Unsalted Butter: 4 tablespoons (half a stick), melted and slightly cooled. This gives the sliceable loaf a rich, tender crumb that stays moist for days.
- Real Buttermilk: 1 1/2 cups. The acid in real whole buttermilk reacts with the baking soda to lift the dough and gives the bread a subtle, cozy sourdough-adjacent tang. (If you don’t have buttermilk, add 1.5 tablespoons of fresh lemon juice or raw apple cider vinegar to whole milk and let it sit for 5 minutes).
- Raw Honey: 2 tablespoons. Just enough to balance the tang of the buttermilk and help the crust turn a gorgeous golden-brown in the oven.
Step-by-Step: From Bowl to Oven in 10 Minutes
Making this loaf is so easy that Luke frequently drags a kitchen chair over to help me measure out the dry ingredients. Here is the exact routine I follow to get this into the oven effortlessly:
- Preheat and Prep: Set your oven to 375°F (190°C). Grease a standard 9x5-inch metal loaf pan thoroughly with butter or extra virgin olive oil. (Pro tip: line the bottom with a strip of parchment paper for absolute non-stick reassurance!).
- Whisk the Dry: In a large mixing bowl, whisk together your 3 cups of flour, baking powder, baking soda, and fine sea salt. Whisking for a full 30 seconds ensures the baking powder is evenly distributed so your loaf doesn’t rise lopsided.
- Combine the Wet: In a separate glass measuring cup or bowl, whisk together the buttermilk, melted butter, and raw honey until smooth.
- Fold, Don’t Knead: Pour the liquid mixture into the dry ingredients. Using a wooden spoon or sturdy spatula, fold the ingredients together gently until just combined. You are NOT kneading this like yeast bread! Over-mixing will develop too much gluten and make your quick bread dense and rubbery instead of soft and tender. The dough will be thick and slightly shaggy, closer to a thick drop-biscuit batter than a smooth yeast dough.
- Pan and Smooth: Scrape the batter into your prepared loaf pan. Smooth the top gently with the back of a spoon. If you want a fun, rustic look, take a sharp knife and slice a quick 1/4-inch deep slash down the center of the loaf longways.
- Bake to Perfection: Bake at 375°F for 40 to 45 minutes. The crust should be a deep golden brown, and a wooden toothpick inserted into the very center should come out clean or with just a few dry crumbs.
- The Cooling Rule: Let the loaf sit in the pan for 10 minutes on a wire rack, then turn it out onto the rack to cool completely.
How to Slice Quick Bread Without It Crumbling
Listen to me carefully, friend, because this is where most mamas make a huge mistake with quick breads!
Because quick bread relies on baking powder and buttermilk instead of a strong yeast gluten network, slicing it while it is piping hot will turn your gorgeous loaf into a pile of warm crumbles. I know it smells incredible. I know you want a warm slice slathered in butter immediately. BUT IF YOU CUT IT HOT, IT WILL CRUMBLE!
Let the loaf cool down completely to room temperature—at least 30 to 45 minutes—before you touch it with a knife. Once it cools, the butter and starches settle, creating a sturdy sliceable structure that holds up like real bakery bread.
Always use a long, sharp serrated bread knife. Use a gentle sawing motion rather than pressing straight down into the loaf. You will get clean, gorgeous, thin slices that hold together perfectly for packing into kindergarten lunchboxes.
What We Pack on This Bread for Luke’s Lunch
Luke is 5 years old, and like most five-year-olds, he knows exactly what he likes. He is super energetic, stubborn as a mule, and would eat his weight in watermelon or fresh sushi if I let him. He also happens to completely HATE apples and mashed potatoes—you could offer him a hundred bucks and he wouldn’t touch a spoonful of mashed potatoes!
So when it comes to packing his camo lunchbox for school, I need sandwiches that fill his belly with real, nourishing scratch ingredients that keep him fueled for building outdoor forts and running around the park after school.
Here are three of our absolute favorite ways to use this quick scratch bread for school lunches:
- The Travel-Tested Egg Sandwich: Luke’s absolute favorite sandwich for road trips and school days alike. I scramble two pasture-raised eggs in melted scratch butter with a pinch of salt, lay a slice of raw cheddar over the hot eggs to melt, and sandwich it between two thick slices of this quick bread. It doesn’t get soggy, and it packs a massive protein punch.
- Scratch Chicken Piccata Slices: Whenever I make chicken piccata for dinner (another one of Luke’s top request meals!), I intentionally cook an extra chicken breast. The next morning, I slice the leftover chicken piccata thin, layer it onto this bread with a little homemade mayo, and pack it with a side of freshly sliced watermelon.
- Pasture Butter and Raw Honey: Simple, classic, and completely scratch-made. Two thick slices of this bread with a generous layer of grass-fed butter and a drizzle of local raw honey. Paired with some sliced bell peppers and watermelon cubes, it’s a lunchbox winner every single time.
Honest Pros and Cons of No-Yeast Sandwich Bread
I promised you I would always be honest on My Mama Mode. I am not here to sell you a fantasy world where quick bread completely replaces artisan sourdough. Here is the honest truth about making no-yeast sandwich bread in your kitchen:
Pros:
- Zero Wait Time: No proofing, no punching down, no multi-hour rise times. From start to slice in about an hour.
- 100% Scratch and Safe: You control every single ingredient. No weird dough conditioners, preservatives, or artificial additives.
- Pantry-Friendly: Made with basic ingredients you almost certainly have sitting in your fridge and pantry right now.
- Sturdy Texture: Holds heavy sandwich fillings like sliced roasted meats, egg salads, and thick spreads without falling apart.
- Foolproof for Beginners: If yeast intimidates you or your kitchen is too cold for dough to rise, this recipe works every single time without fail.
Cons:
- Slightly Denser Crumb: Quick bread has a texture closer to a sturdy soda bread or tender biscuit loaf rather than the ultra-fluffy, airy pockets of a long-fermented yeast sandwich loaf.
- Shorter Counter Life: Because it contains zero chemical preservatives, it will dry out faster on the counter than store-bought bread. (Keep reading below for how I store it!).
- Requires Complete Cooling: You cannot slice this loaf hot out of the oven without risking crumbles. You must wait for it to cool down to slice cleanly.
High-Altitude & Storage Notes for Colorado Mamas
Living in Colorado Springs means high altitude baking is a real thing. The dry air and lower air pressure can cause quick breads to rise too fast and collapse in the middle if you aren’t careful.
Here are my quick adjustments if you live up in the altitude with us:
- Increase Liquid Slightly: High altitude dries out flour fast! I usually add an extra tablespoon of buttermilk to the dough if the air in the house feels particularly dry during winter.
- Watch the Baking Powder: If you live above 5,000 feet, reduce your baking powder by just 1/4 teaspoon. This keeps the loaf from expanding too fast before the flour structure sets in the oven.
- Oven Temp: Keep your oven at a solid 375°F. The slightly higher temp helps set the crust quickly so the loaf keeps its high rounded shape.
Storage Tips:
To keep this scratch bread fresh, store it wrapped tightly in unbleached parchment paper or a beeswax wrap on your kitchen counter for up to 3 days.
If you want it to last longer, slice the entire cooled loaf, place parchment paper squares between the slices, and seal them inside a glass freezer container. When morning lunch box prep rolls around at 7:00 AM, just pull out two slices, pop them straight into your toaster or let them thaw on the counter for 10 minutes, and build your sandwich. It thaws like it was freshly baked that morning!
Final Thoughts from the Couch
At the end of the day, feeding our kids real food doesn’t have to mean slaving away over complicated recipes that stress us out. Being a stay-at-home mom is real work, and our time is precious. We want scratch food that tastes amazing, nourishes our sweet kiddos, and leaves us with enough time and energy to actually enjoy our days together.
Whether you are packing lunchboxes for kindergarten drop-off, packing up a picnic basket for a truck ride out to the park, or just wanting a cozy slice of homemade bread with butter while your kiddo watches his favorite outdoor YouTube show, this no-yeast quick loaf is about to become your new best friend in the kitchen.
Give it a try this week, mama, and let me know how your lunchbox prep goes! You’ve got this!
Affiliate link — if you sign up or buy through it, My Mama Mode may earn a small commission at no extra cost to you. As an Amazon Associate, My Mama Mode earns from qualifying purchases. My Mama Mode also participates in other retailer affiliate programs. Learn more.
Frequently asked
Yes! You can substitute the whole buttermilk with unsweetened almond milk or oat milk mixed with 1.5 tablespoons of fresh lemon juice, and swap the butter for melted coconut oil or extra virgin olive oil.
Quick bread must cool completely to room temperature before slicing! Cutting into quick bread while hot breaks the starches before they set. Always wait 30-45 minutes and use a sharp serrated bread knife.
Because it contains no synthetic preservatives, it stays fresh on the counter wrapped in beeswax wrap or parchment for up to 3 days. For longer storage, slice and freeze!
Tap the one that fits, mama — no comment box, no pressure ✦
Keep reading, mama
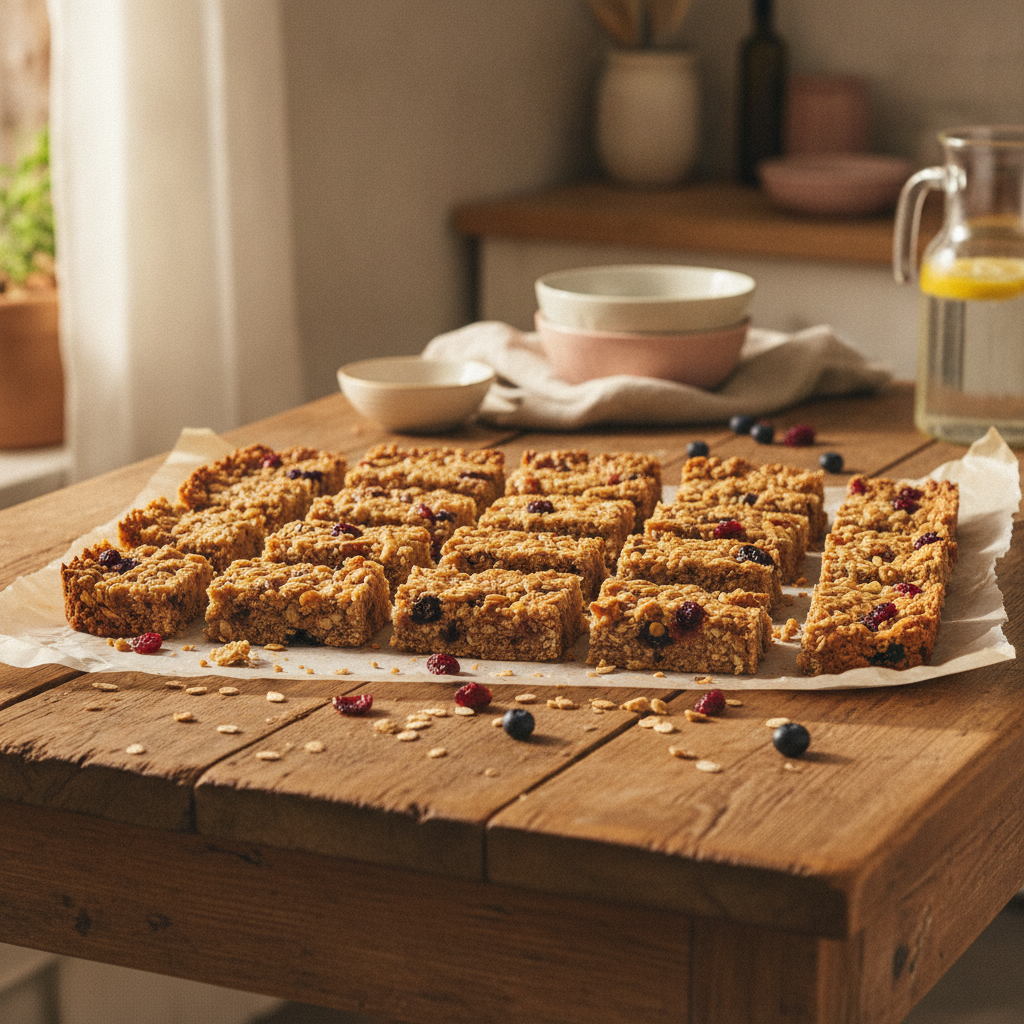
20-Minute Scratch Snack Bars That Actually Hold Up in a 4-Year-Old's Lunchbox
Ditch the boxed store-bought junk! These easy, 20-minute scratch-baked snack bars are lunchbox-approved, nut-free friendly, and made with real pantry food.

Scratch High-Protein Pancakes That Keep My Wild Kindergartner Full Until Lunch
Ditch the processed boxed mix! Learn how to make fast, delicious, high-protein scratch pancakes that fuel active kids through busy school mornings.
Make-Ahead Freezer Meals That Save Our Busy Colorado Weeks
Make-ahead Italian freezer meals from scratch — lasagna, chicken piccata, braciole and meatballs — plus the batch prep system behind them.